
by Daniel Baker on 22-Oct-2013 21:47:00
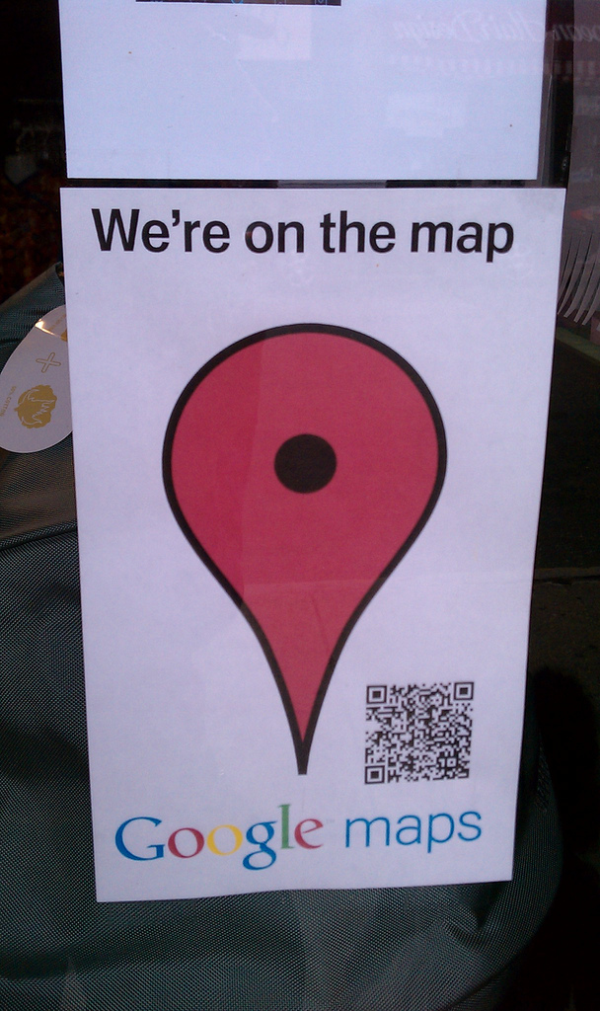
Getting your local Derby business onto Google maps isn’t as hard as you may think. More and more people are turning to local searches and local businesses across Derby so it’s becoming increasing more important to make sure you have a Google Local page set up for your business, meaning your Derby business will show up on Google Maps.
I have created a step by step guide on how you can get your local Derby business onto Google Maps and start enjoying some first page local listings in Google, and hopefully get your phone ringing with those all important enquiries!
Step 1 – Creating an account
The first step is to visit the Google Local page so you can set up your own Google local account. You first need to make sure you are logged into the Google account that you want your business to be linked to. You then need to search for ‘Google Local’ on Google and click on ‘Welcome to Google Places for Business’. Once you have clicked on this you will then see another search bar, use this search bar to see if you already have Google Local page for your business. You do not want to create a new page if a page already exists. To do this type in your business name and see if any results come up. If your business name brings up a result, you simply need to claim that listing. If not, create a new listing. When doing the search you can put Derby after your business name and this will just do a search of Derby and not the whole world.
Step 2 – Inputting your business information
The second step is to fill out the form with your business information. The most important thing you need to take into account here is that the information you enter matches your website exactly! Copy the information exactly from the contact page of your website.
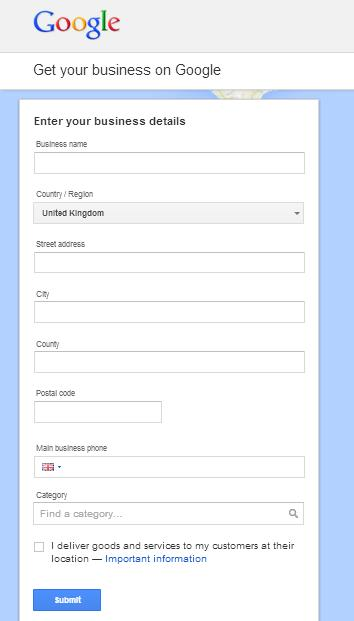 Here is a list of the information that Google asks you to in:
-
Business name (Your business name will go here)
-
Country / Region (The county your business is located)
-
Street address (Needs to match what is on your website, word for word)
-
City (The city of your business, you will need to put Derby in this section)
-
County (The county your business is in)
-
Postal Code (Your business postcode)
-
Main business phone (Business phone number)
-
Category (The category your business fits in, don’t worry if you select one and want to change your mind as this can be changed whenever you want)
Once you have filled in this information click the submit button.
Step 3 – Verifying your Business
You now need to verify that this is in fact your business. Google has two options to be able to do this. The two options are a phone call or a Postcard. The Phone call method means that Google will call you and an automated voice will give you a 5 digit number which you will need to make a note of. This is not always the best option if you have an automated answering system, as Google’s automated code generator will not be able to tell whether a human has answered or a machine, and you may never even know that they have called.
The Postcard method is where Google send a postcard to your address with the 5 digit number printed within it. This postcard can take between 1 – 2 weeks to arrive to your business address. In some cases Google only allows you to select one method do this.
Once you have verified your business and entered the 5 digit number, Google will then take a period of time to review your Google Local page. Once it has successfully been reviewed your business will now show up on Google Maps!
Step 4 – Optimising your Google Local Page
You may think that all the work is now done because you are now showing up on Google Maps. Not quite yet, there is still work to be done! You need to make sure your Google Local account is fully optimised with correct business information. The more optimised it is, the more people will be able to find your page when doing a Google search. Also it will give the new visitor a chance to learn more about your business before they visit your full website.
The information that you can add to optimise your page for maximum benefits are:
-
Contact number and email address - You want to make sure they are all filled in and accurate so that if someone visits your page and wants to contact your business, they can!
-
A short description of what your business does - You don’t want to make this to long but you want to include key points about who you are and what services you provide.
-
Additional categories – here you can add additional business categories that relate to your business.
-
Pictures - You probably want to add your business logo as your profile picture. You should also add pictures of what your business does. This will give visitors to your local page a good feel for who you are and what you do.
-
Opening hours – Let people know when you are open and when they can call you. The more information you can give people the better your business will look in the local listing.
Step 5 – Keeping your page fresh
After your page is setup and you have completed all the necessary information to optimise the listing, you should regularly go back to your Google Local page and update the information which is on there. By this I mean changing or adding new pictures to it, updating what you do in the description and making sure the contact details always match what is on your website. You want to schedule to do this once every 3 months.
By following the above steps you will be able to create and maintain a successful Google Local page.
There are many benefits for your business by having a Google Local account set up, the main one being that you can gain more business and more customers.
Article by Adam Jones
photo credit: SierraTierra via photopin cc

How to Set up Your Emails in Microsoft Outlook 2003
Setting up new emails in your mail client can be extremely difficult if you don’t know how, as anything is. It is also one of the most common question …
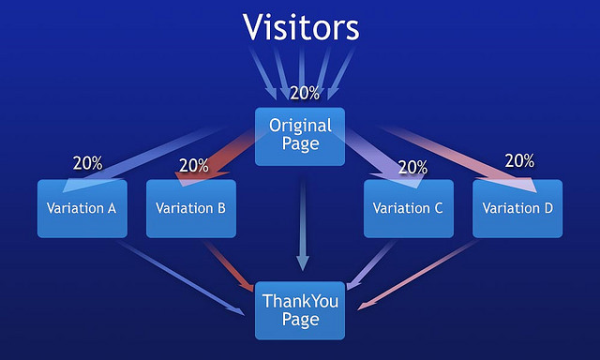
How To “Split Test” Landing Pages On Your Website For More Enquiries
A Step-By-Step Guide For Marketers To Increase Website Conversion Rates So you have become more comfortable with managing your Google Adwords PPC acco …

Create Business Marketing Fireworks By Following These 4 Simple Steps
Remember remember the 5th of November! Bonfire night is right around the corner so what better time to light up your marketing strategy and start crea …